Equipotential Bonding for LPS: Rules, Sizing, and Testing
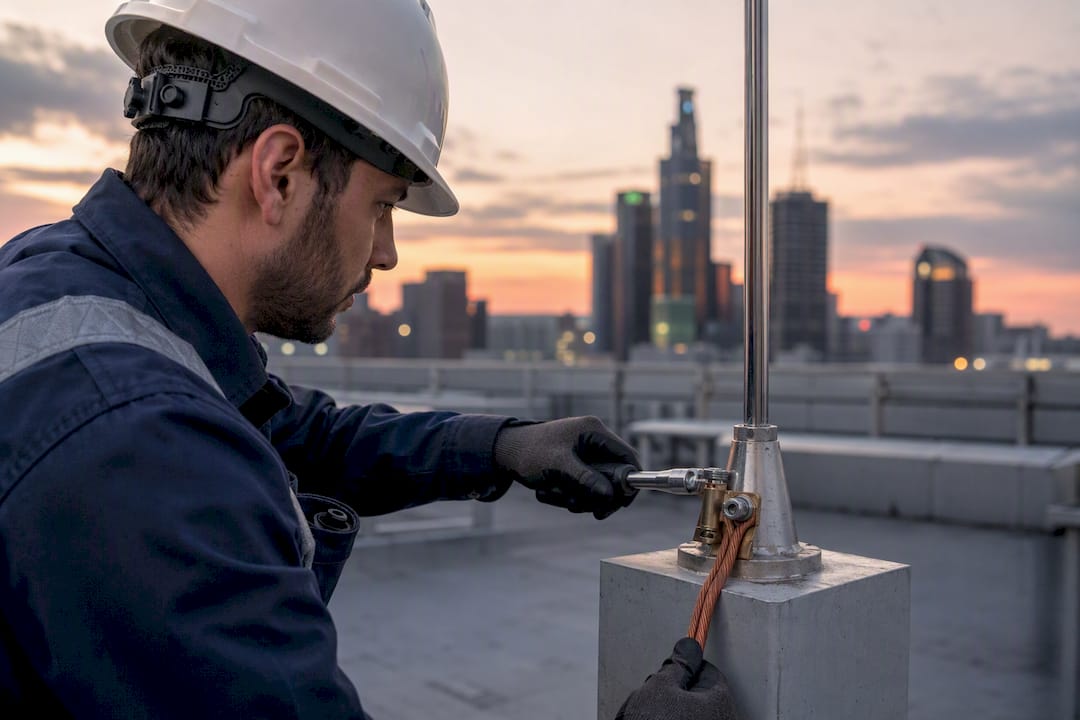
Equipotential bonding in a lightning protection system interconnects every conductive mass on and around a building, then ties that network to earth, so no dangerous potential difference can trigger arcing during a strike. As a working rule: install the main bond (LEP) where services enter the building, use local bonds (LES) in bathrooms and wet rooms, and size rooftop LPS bonds at a minimum of 16 mm² while LES conductors typically run 2.5 to 4 mm². Check every design against NF EN 62305 and NF C 15-100 before sign-off.
TL;DR:
- Ensure the main bonding (LEP) is installed where services enter the building to prevent potential differences that could trigger arcing during a lightning strike.
- Size rooftop bonding conductors at a minimum of 16 mm² copper due to their role in carrying lightning current, unlike local bonds which require only 2.5 to 4 mm².
- Test continuity at each bonded point ensuring resistance stays below 2 ohms to meet inspection standards and avoid nonconformity failures.
- Use corrosion-resistant copper, such as tinned copper braid, and route conductors for easy inspection and maintenance, especially in coastal or industrial environments.
- Complex sites with mixed metals or high lightning risk should involve specialized engineers to design, calculate separation distances, and certify bonding installations.
Table of Contents
- What Liaisons Équipotentielles Lps Actually Do: LEP vs LES
- Minimum Conductor Sections and Sizing Rules
- Choosing Bars, Tresses, Cosses, and Isolators
- Integrating Bonds With the LPS: Roofs, Line-of-Life, and Distance of Separation
- Installation Checklist, Continuity Testing, and DIUO Records
- Common Mistakes That Fail Inspection
- Why Complex Sites Call for a Specialist Like Indelec
- What the Next Decade Looks Like for Bonding Design
- Get a Professional Bonding Study From Indelec
- Sources
What Liaisons Équipotentielles Lps Actually Do: LEP vs LES
A liaison équipotentielle exists to erase the difference of potential between conductive parts by wiring them together and grounding the assembly. Skip that step and a lightning strike can jump between a metal duct and a water pipe with enough energy to injure someone standing nearby, which is exactly the arc risk the bonding is designed to prevent.
Two distinct bonding types cover different zones of a building:
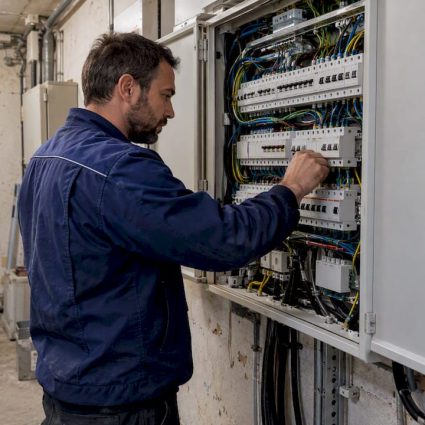
- Liaison équipotentielle principale (LEP): installed at the point where electrical, water, gas, and heating services enter the building, linking structural metalwork and service pipes to the earthing system.
- Liaison équipotentielle supplémentaire / locale (LES): required in bathrooms and other wet rooms, connecting taps, pipework, and metal fixtures back to the protective conductor.
Promotelec’s guidance on LEP work is blunt about who should do it: a qualified professional, not a generalist. NF C 15-100 treats LEP and LES as essential safety components in installations with lightning protection systems.
Minimum Conductor Sections and Sizing Rules
Sizing errors are the most common paper trail in a failed inspection. NF C 15-100 sets 2.5 mm² as the LES minimum when the conductor is mechanically protected, rising to 4 mm² when it is exposed. Rooftop LPS bonds live in a different category entirely, since they need to carry a share of the actual lightning current rather than just equalize potential, which is why 16 mm² copper is the accepted floor for those connections.

Long conductor runs, high-NP sites (elevated lightning risk under the ARF methodology), or exposure to mechanical abrasion all justify upsizing beyond these floors. Conductors should carry the green/yellow marking convention where insulated, and copper remains the default material choice unless galvanic compatibility rules it out.
Choosing Bars, Tresses, Cosses, and Isolators
The hardware you select determines whether a bond survives twenty years of thermal cycling or fails at the first corroded joint. Supplier catalogs for LPS accessories typically list equipotential bars, braided tresses, cosses, and disconnecting bars as standard components, each suited to a different physical constraint.
- Equipotential bars anchor multiple bonds at a single accessible point, usually near the service entry or roof access hatch.
- Braided tresses flex across expansion joints or vibrating equipment where a rigid conductor would fatigue and crack.
- Cosses (lugs) terminate conductors at bars or structural steel; match the lug bore to the conductor gauge exactly.
- Isolators mount the bar off the substrate to prevent unwanted contact with unrelated metalwork.
- Éclateurs (spark gaps) or disconnecting bars let you break a bond for periodic resistance testing without disturbing the permanent connection.
Tinned copper resists corrosion better than bare copper in coastal or industrial atmospheres, and installers commonly favor tinned copper braid over bare copper wherever galvanic mismatch is a concern, switching to stainless steel hardware when the adjoining metal is aluminum or zinc-coated steel.
Pro Tip:Route conductors so a technician can reach every terminal with a torque wrench without removing cladding. A bond that requires disassembly to inspect will simply stop getting inspected.

Integrating Bonds With the LPS: Roofs, Line-of-Life, and Distance of Separation
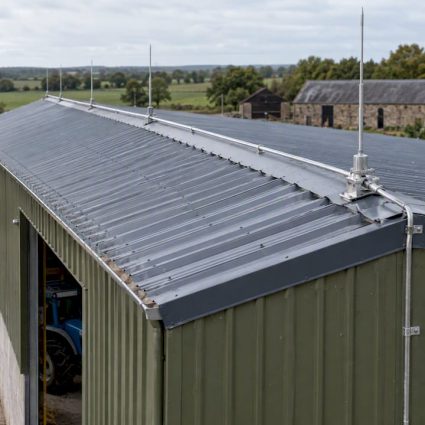
NF EN 62305-3 gives designers two legitimate paths for rooftop metallic masses: bond them into the LPS, or prove a calculated distance of separation keeps them safely outside the strike’s influence. Bonding is the simpler and, in most retrofit situations, the cheaper route.
- Obtain the ARF (risk study) to establish the site’s protection level and NP classification.
- Map every rooftop metallic item, antennas, HVAC housings, PV rails, and life-line anchors included.
- For each item, decide bond or separation based on the calculated distance against the site’s NP.
- Route the bond to the nearest LPS conductor or earth terminal, avoiding high-resistance joints and building in redundancy at critical tie-ins.
QUALIFOUDRE/INERIS guidance treats bonding as the preferred fix wherever separation can’t be guaranteed, particularly for line-of-life anchors and PV rail systems, since maintenance staff routinely touch both.
Installation Checklist, Continuity Testing, and DIUO Records
A bond that looks correct on the roof but was never tested is a liability disguised as a compliance item. Work through installation in this order:
- Before work starts: pull the ARF, locate existing LPS earth terminals, and plan the LEP/LES routing on a marked-up drawing.
- During installation: fix conductors with mechanical protection wherever they cross traffic paths or exposed roof edges, and torque every lug connection to the fastener manufacturer’s spec.
- Testing: measure continuity at every bonded point; industry practice sets a target of 2 ohms or less between local items and the LES/LEP, backed by a visual check of every joint for corrosion or loose hardware.
- Handover: update the DIUO with dated, signed verification reports, and schedule the next periodic inspection.
That 2-ohm figure is the number inspectors actually check first, and it’s worth committing to memory rather than looking up on-site. A dated DIUO entry with signatures is what separates a physically sound installation from one that’s still technically nonconformant on paper. Tools built for electricians, like BRCKS, can help keep those inspection records organized across multiple sites rather than scattered across paper forms.
Common Mistakes That Fail Inspection
Most nonconformities trace back to a handful of repeat offenders, not exotic edge cases.
- Undersized conductors chosen to save cost on long roof runs.
- Loose or corroded joints that pass a visual check but fail continuity testing.
- Dissimilar metals in direct contact, aluminum roof rail against a copper tress, without an isolating barrier.
- Rooftop items left unbonded because they were installed after the LPS survey and never re-mapped.
Corrosion, mechanical fatigue at flex points, and under-torqued lugs are the three failure modes that show up repeatedly during periodic reinspection.
Pro Tip:Photograph every joint before closing up cladding or conduit. It costs two minutes on-site and saves hours of guesswork when a resistance reading drifts out of spec five years later.

Why Complex Sites Call for a Specialist Like Indelec
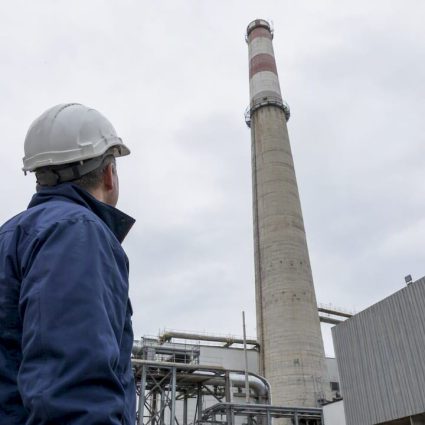
Indelec has worked in lightning protection since 1955, running its own R&D program alongside full-service study, installation, testing, and certification work. Straightforward domestic bonding is well within reach for a competent electrician, but a complex roof with mixed metals, a high-NP industrial site, or a facility housing sensitive equipment changes the calculation entirely.
Those projects need someone who has actually run the ARF process, calculated separation distances against real NP data, and signed off DIUO packages that survive an insurance audit. That track record is what a specialist brings to a bonding scope that looks simple in a drawing and turns out complicated on the roof.
What the Next Decade Looks Like for Bonding Design
Lightning frequency and intensity are shifting in ways that make retrofit bonding audits more common, not less, and design-stage integration is cheaper than fixing a rooftop bond after the fact. Our strongest recommendation to project teams: decide the bonding approach during design review, not during snagging, and write that decision into the DIUO the same week it’s made.
— INDELEC
Get a Professional Bonding Study From Indelec
Indelec runs the full scope this article covers: risk assessment, LPS design, equipotential bonding execution, continuity testing, and DIUO delivery, all under one contract instead of split across subcontractors.

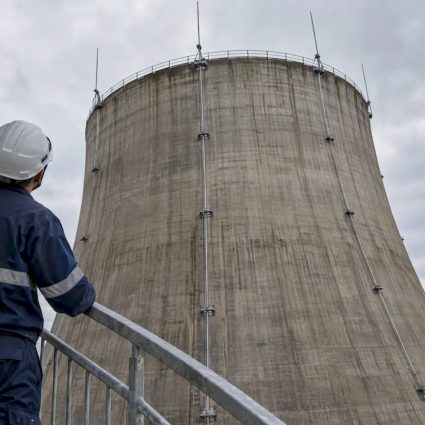
Industrial sites, commercial buildings, and public infrastructure projects are where this pays off most, since they carry the mixed-metal roofs, high-NP classifications, and documentation burden that make DIY bonding risky. If your site has an LPS that needs a fresh risk study or a bonding scope that needs qualified hands, request a lightning protection assessment and get a scoped plan before your next inspection cycle.
Sources
For direct consultation, keep NF EN 62305 (LPS design and rooftop bonding), NF C 15-100 (conductor sections and wiring practice), NF EN 62561 (LPS component testing), and QUALIFOUDRE/INERIS guidance on hand alongside practical field guides from Promotelec and Guide Elec. Indelec’s own lightning standards overview rounds out the set with a summary built for quick reference on-site.
- Liaison équipotentielle — Wikipédia
- Liaison équipotentielle norme NF C 15-100 : ce qu’il faut savoir – Guide Elec
- Comment doit-on réaliser la liaison équipotentielle principale ? | Promotelec
- Foudre et ligne de vie : 3 risques à maîtriser — Ligne-de-vie-expert